(Picture courtesy of Elizabeth. She made this using one of my handmade Barbie cameos for her wedding. Thank you Elizabeth and All of the BEST wishes to you on your wedding day and your life moving forward.)
I was so thrilled that one my customers had contacted me and purchased my
handmade barbie cameos to make her own garter for her wedding. To have any of my creations in anyone's wedding is extremely a huge honor for me! :) To be able to create something for someone's wedding that they will use and have it in their memory forever is so special of an experience for me!
Above is a picture of one of my customers' handmade creation from my
Barbie cameos.

To make this or something like it, you will need the following:
MATERIALS:1.5 inch White Ribbon
.75 - 1 inch White Ribbon
2 inch Pink Ribbon
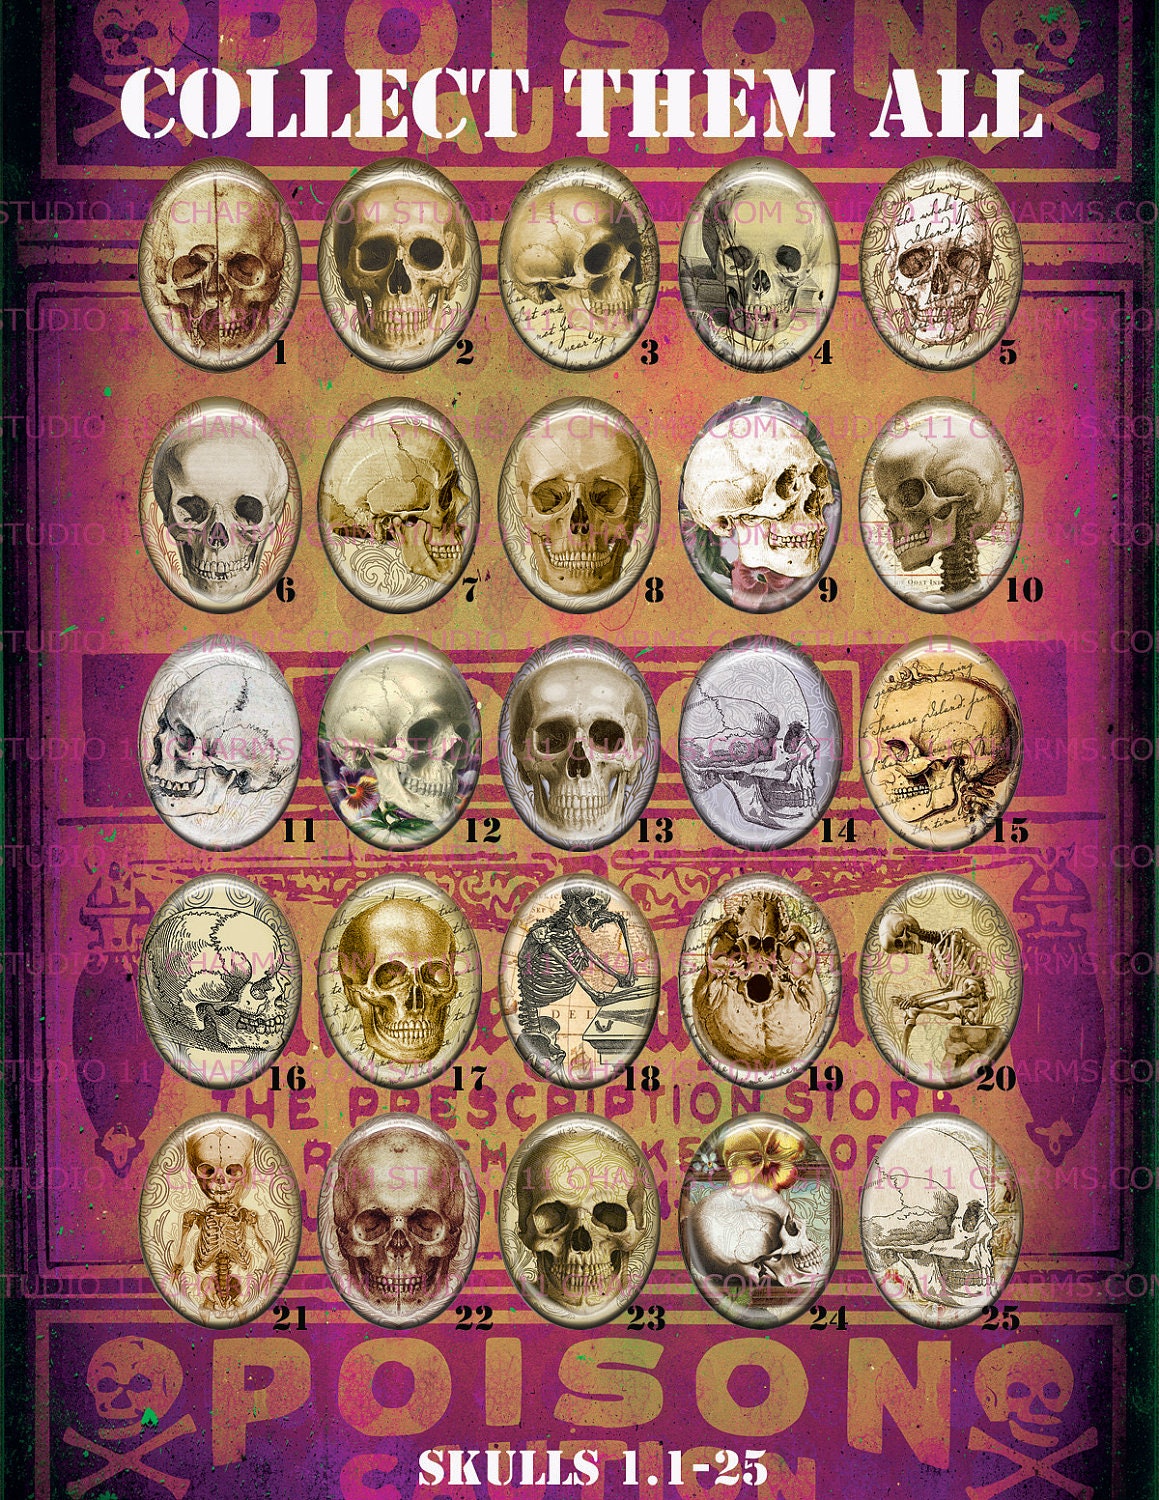
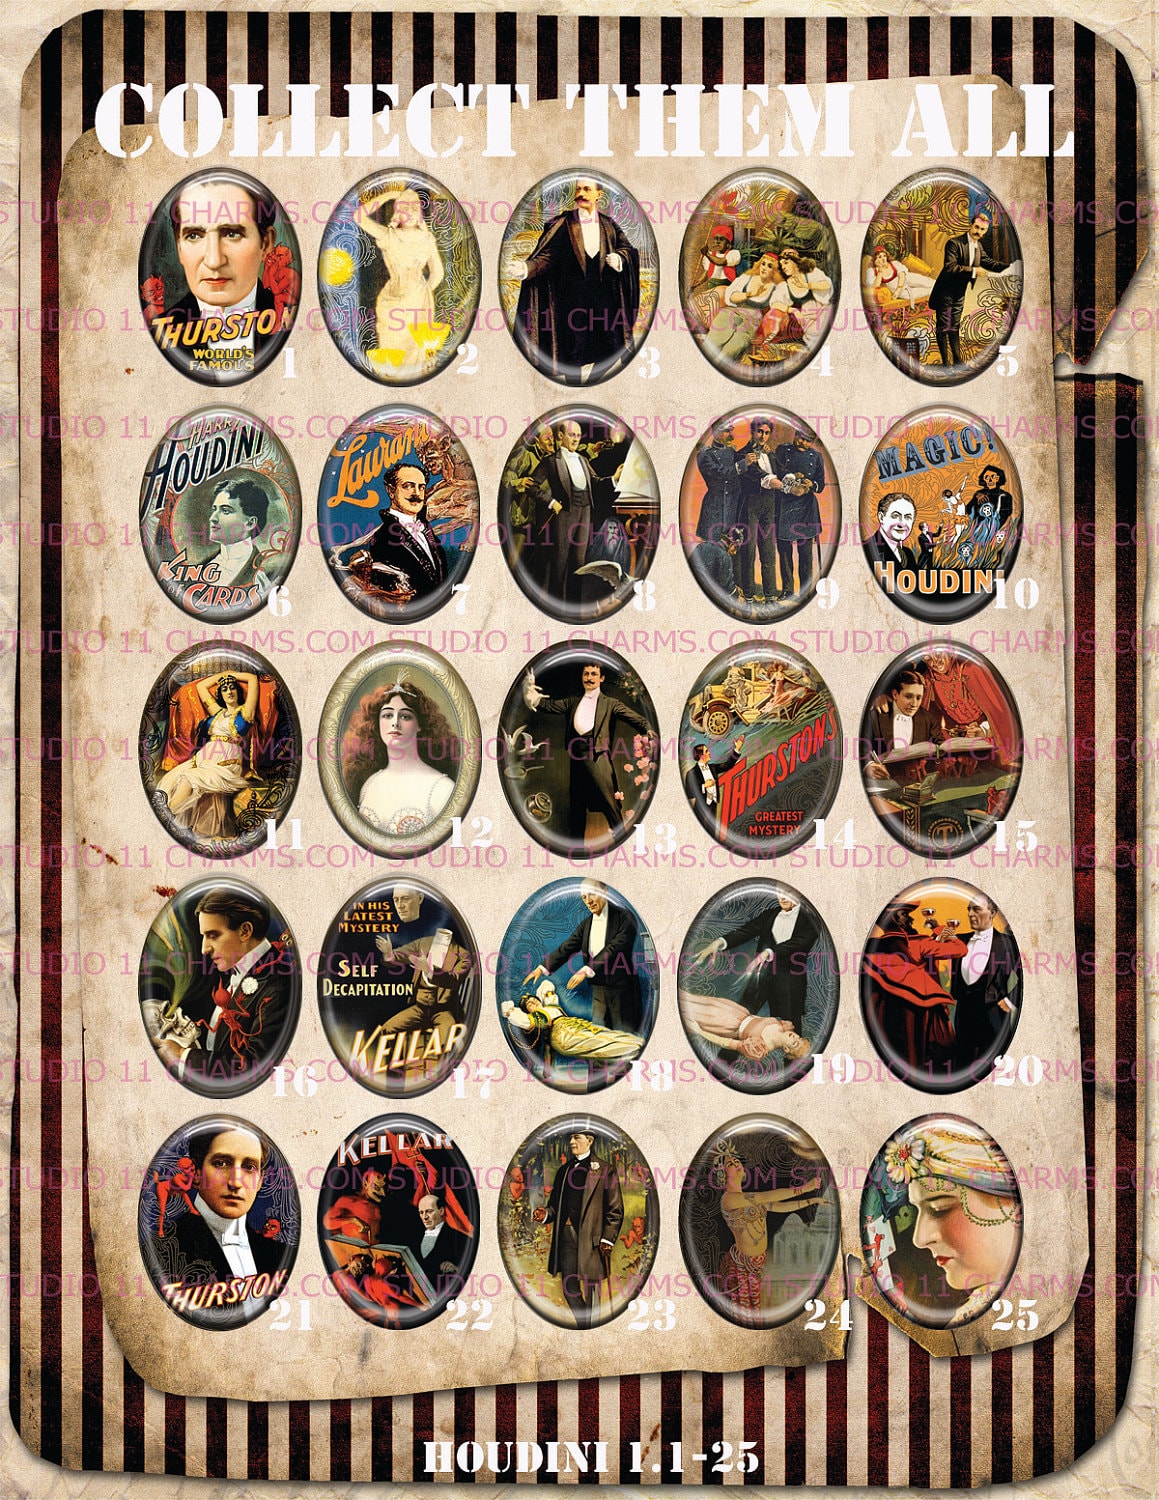
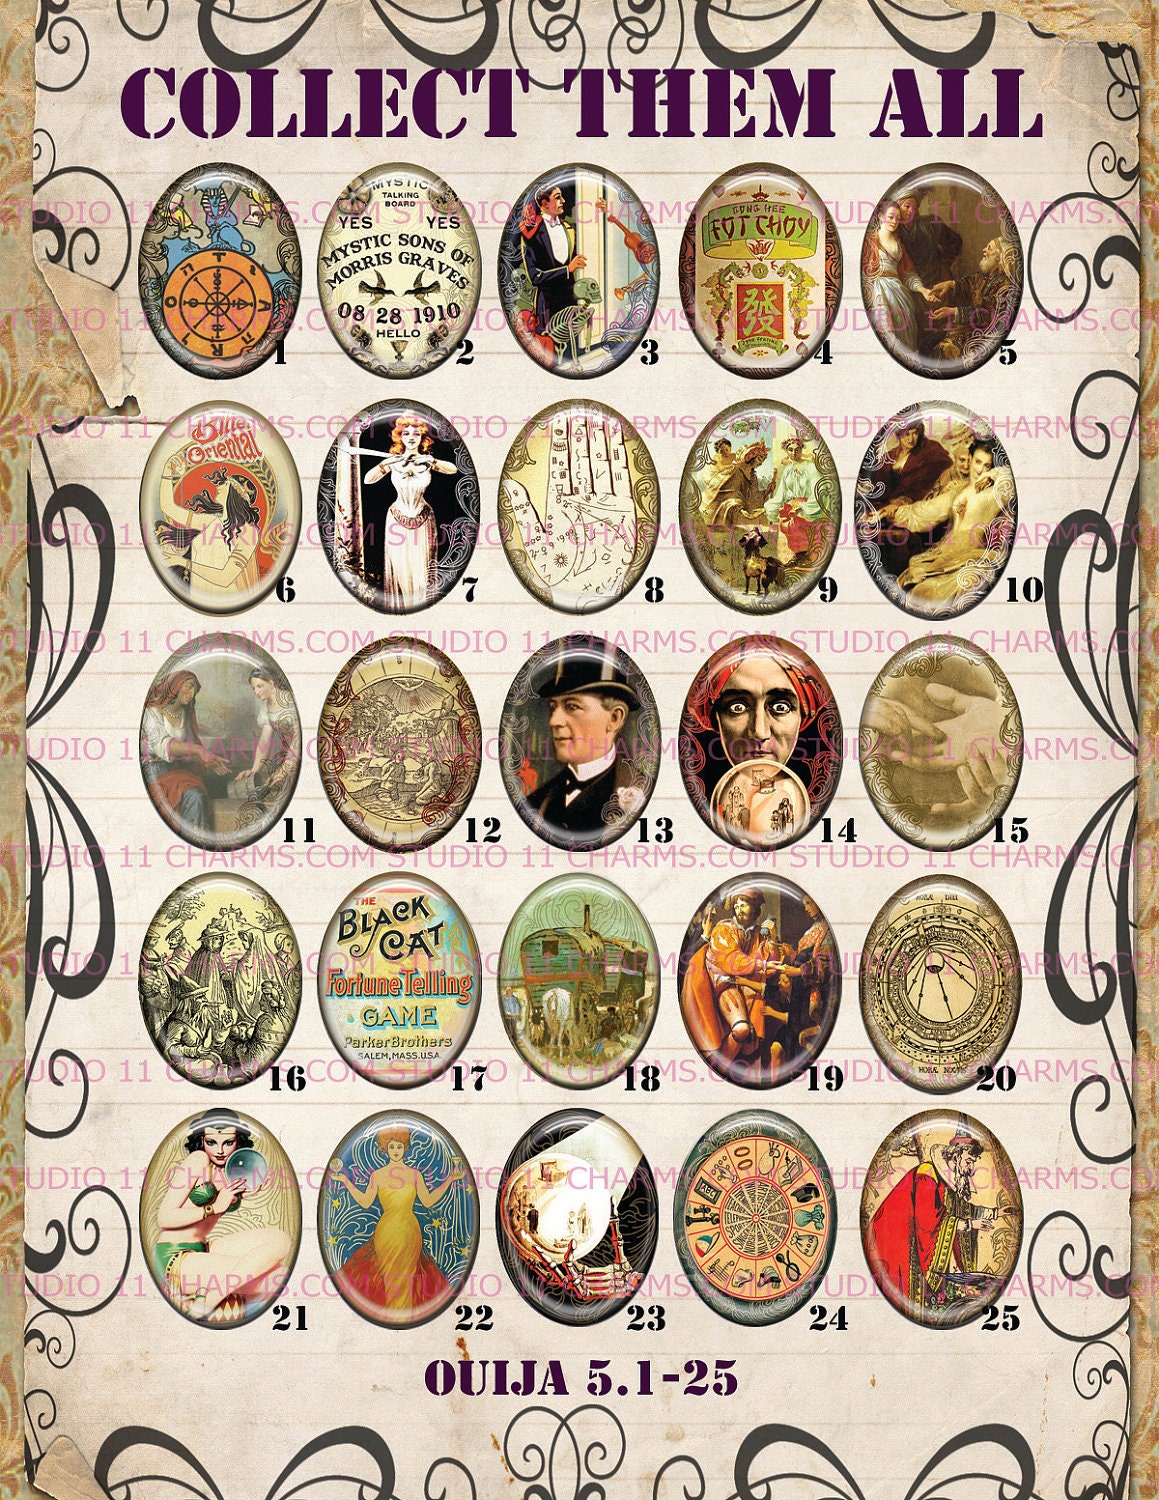
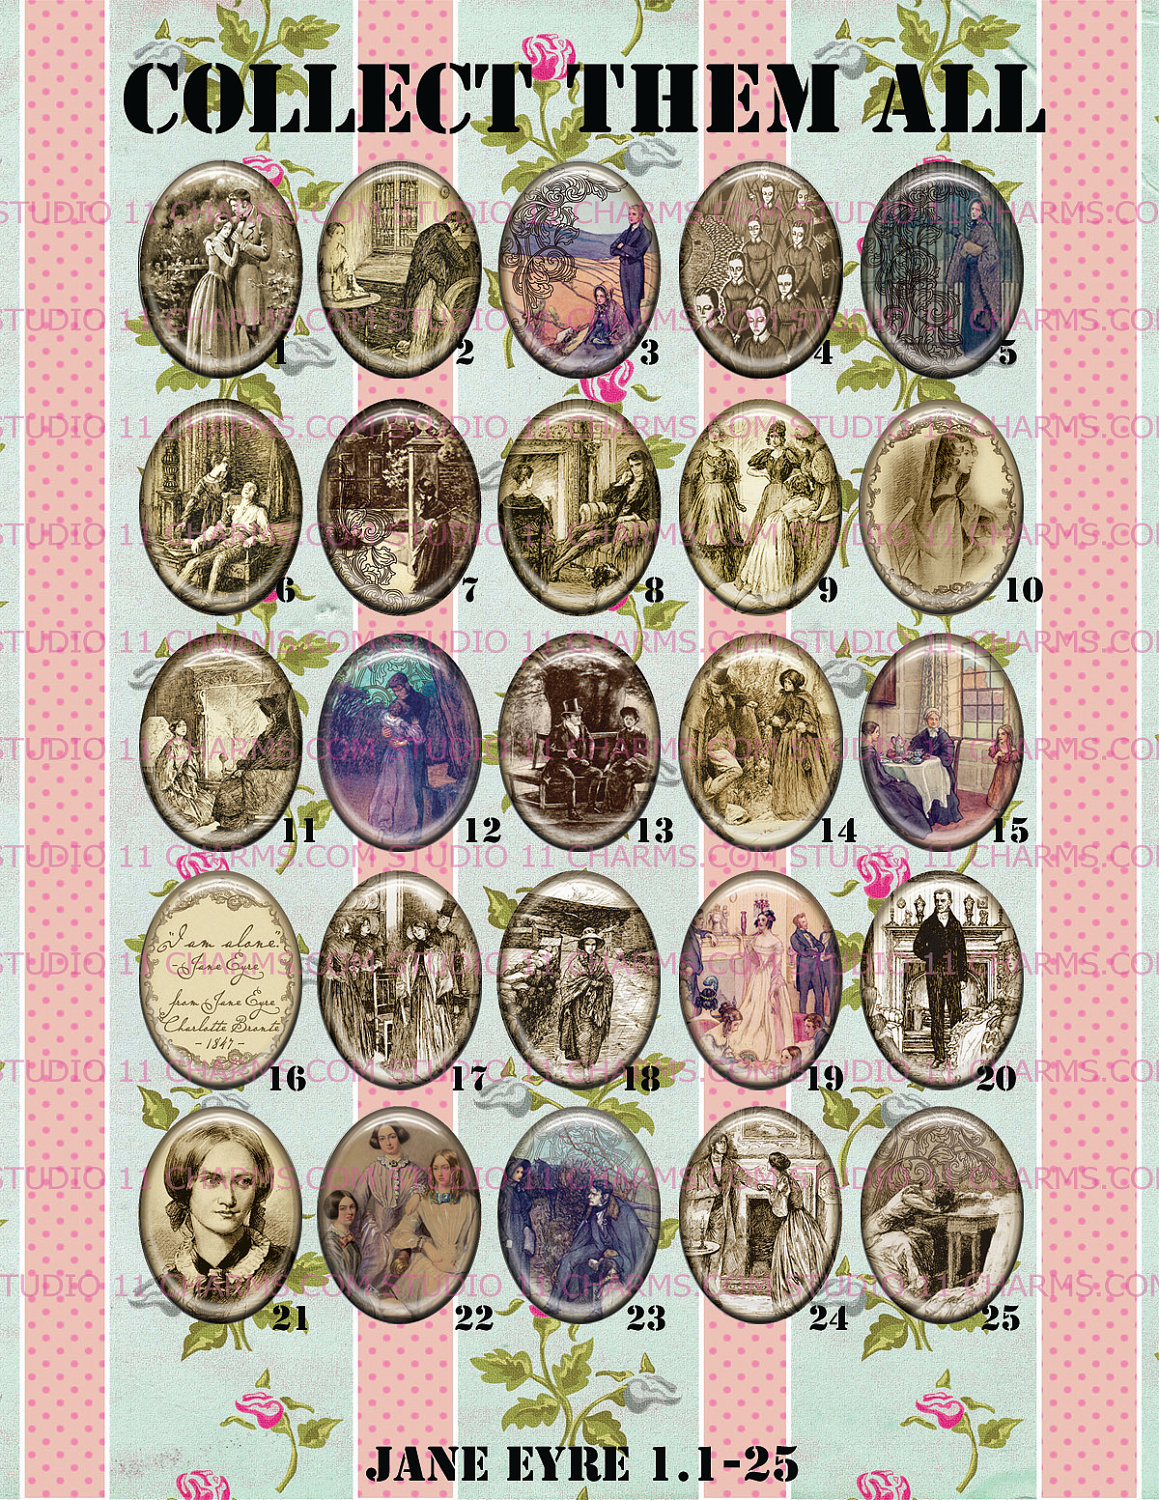
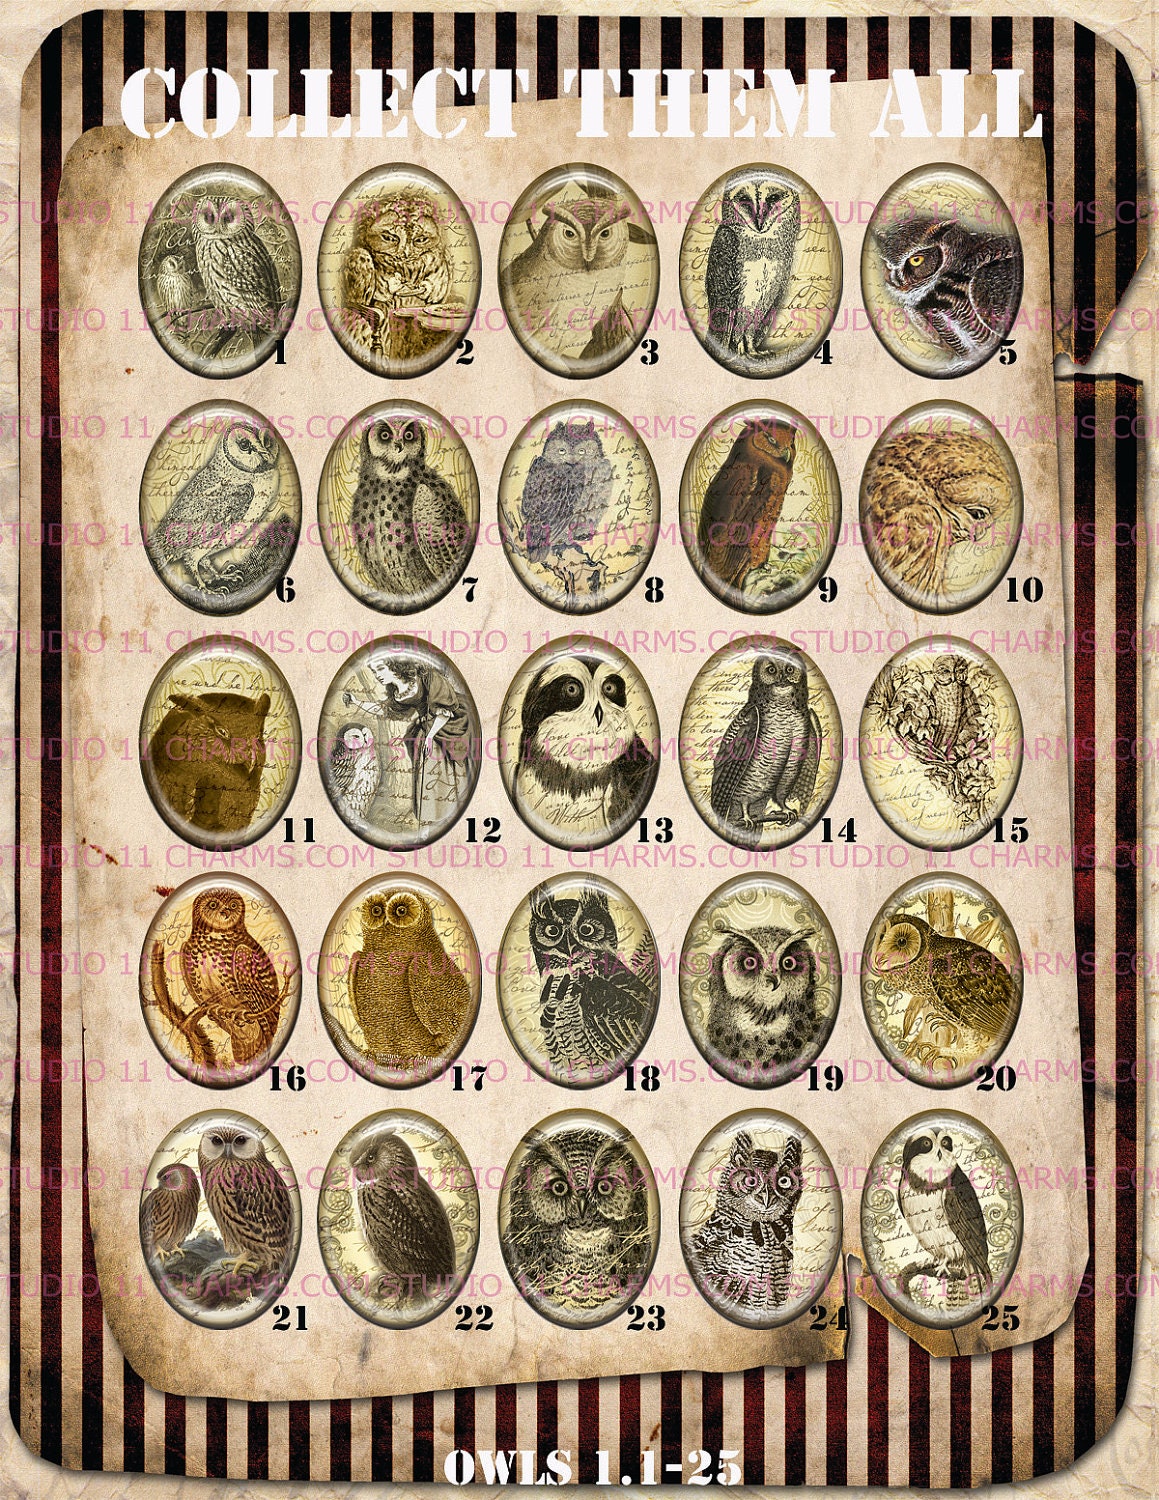
Barbie Cameo from Studio11Charms.com.25 inch elastic band
Thread & Needle
Scissors
Glue (E-6000)
Measuring Tape (used for sewing, not the type from a hardware store)
A sewing machine will be needed for clean stiches. You can hand sew it, but it will not look as clean cut or professional.
INSTRUCTIONS:1. Measure the circumference (thickness of your upper leg), or where ever you are planning to wear the garter. Let's call this measurment LC (for leg's circumference), as we will be referencing this measurement a few times more later.
2. Cut the piece of elastic according to the "LC" measurement.
3. Take the 2 sizes of white ribbons and cut it according to "LC x 1.5 inches"
***
HINT: If you want your garter to have a lot of ruffles then measure "LC x 2 inches"***
4. Sew the smaller white ribbon on top of the larger white ribbon.
5. Take the piece of elastic that you have measured earlier and string through the middle area (sandwich) between the sewn 2 pieces of ribbons. Doing this, the ribbons will start to form some ruffles.
6. Secure the ends of the ribbons and the elastic so that the elastic will not get lost in the middle of the ribbons. And sew the ribbons and the elastic together in a straight line using a 5/8 seam allowance.
7. Now the main piece of your garter should be done.
8. Next take the pink 2 inch ribbon and and tie a large bow. When you have achieved the desired size for the bow, cut the ends off. Sew this ribbon to the garter piece that you have just finished.
**
HINT: Sew the pink bow on top of where you have sewn the connecting line for the ribbons on the garter. Doing this, you will hide the seam line and make the garter look more seam less and clean cut.
9. Now take your glue (E-6000), and glue your
Barbie Cameo piece on top of the pink bow.
10. Make sure that you lay your garter and the Barbie Cameo on a flat and even surface. And make sure that you keep this in an area where no one will touch it or play with it, while the glue dries. It may take hours for the glue to dry completely and so you don't want anyone to be able to touch your piece or move it around while the drying process is taking place. Otherwise, you may have to start the entire process all over again.
11. Ok, now when the glue is completely dry (read the instruction on the glue container), you can try on your garter and see how it looks! Whoa-La! A beautiful handmade piece that you have made for yourself.
You can use these instructions to create similar pieces like hair bows, barrettes, a bow tie and cameo necklace, make a wrist bouquet for prom, broach for your sweaters and coats, a hat pin, etc... The possibilities are endless.
Have fun and I would LOVE for you to show me what you have created!!!!
***Feel free to use these instructions to make your own creations for personal use or you can use creations that you make to sell*** But please DO NOT copy/paste my instructions and sell the instructions (in part or in full). And if you want to re-post my instructions online, please contact me first and I would appreciate a link back to my blog. Sharing my instructions with your friends and family is highly encouraged and I would appreciate a link back to my blog or a mention of my shop. Thank you very much and I hope that you have enjoyed my How-To.